Make your first widget
From sign-up to a widget on your website in about two minutes.
Every widget works the same way: pick one, make it look like your site, and paste one piece of code into your website. You only paste the code once; later changes show up on their own.
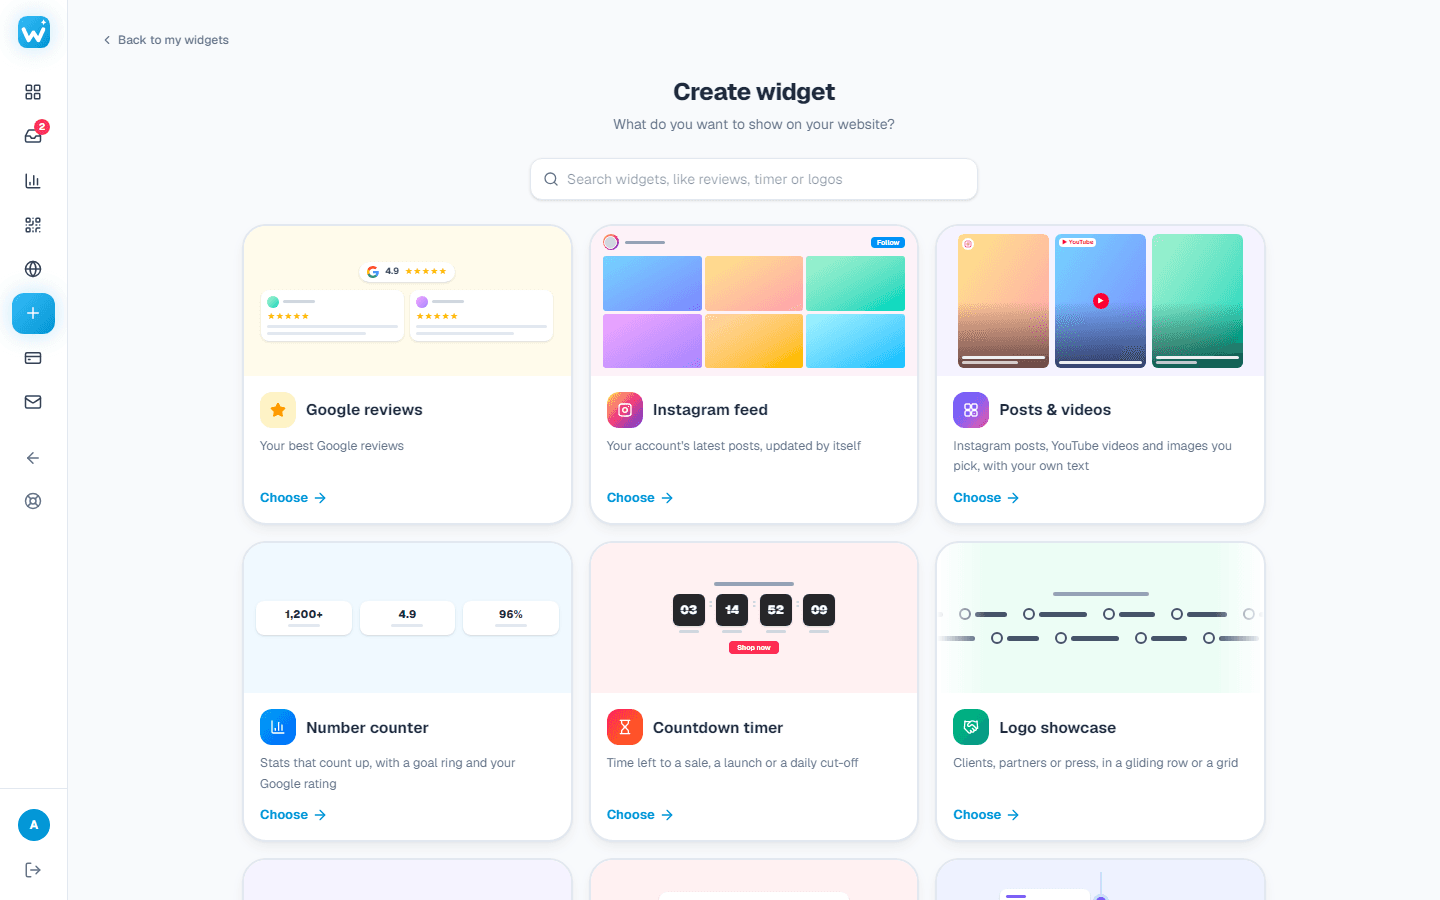
1. Pick a widget
- 1Log in and press New widget in the menu on the left.
- 2Choose the kind you want: Google reviews, Instagram feed, a contact form, a popup, a calculator and more.
- 3Most widgets start from a ready design. Pick one close to what you want; you can change everything after.
2. Make it yours
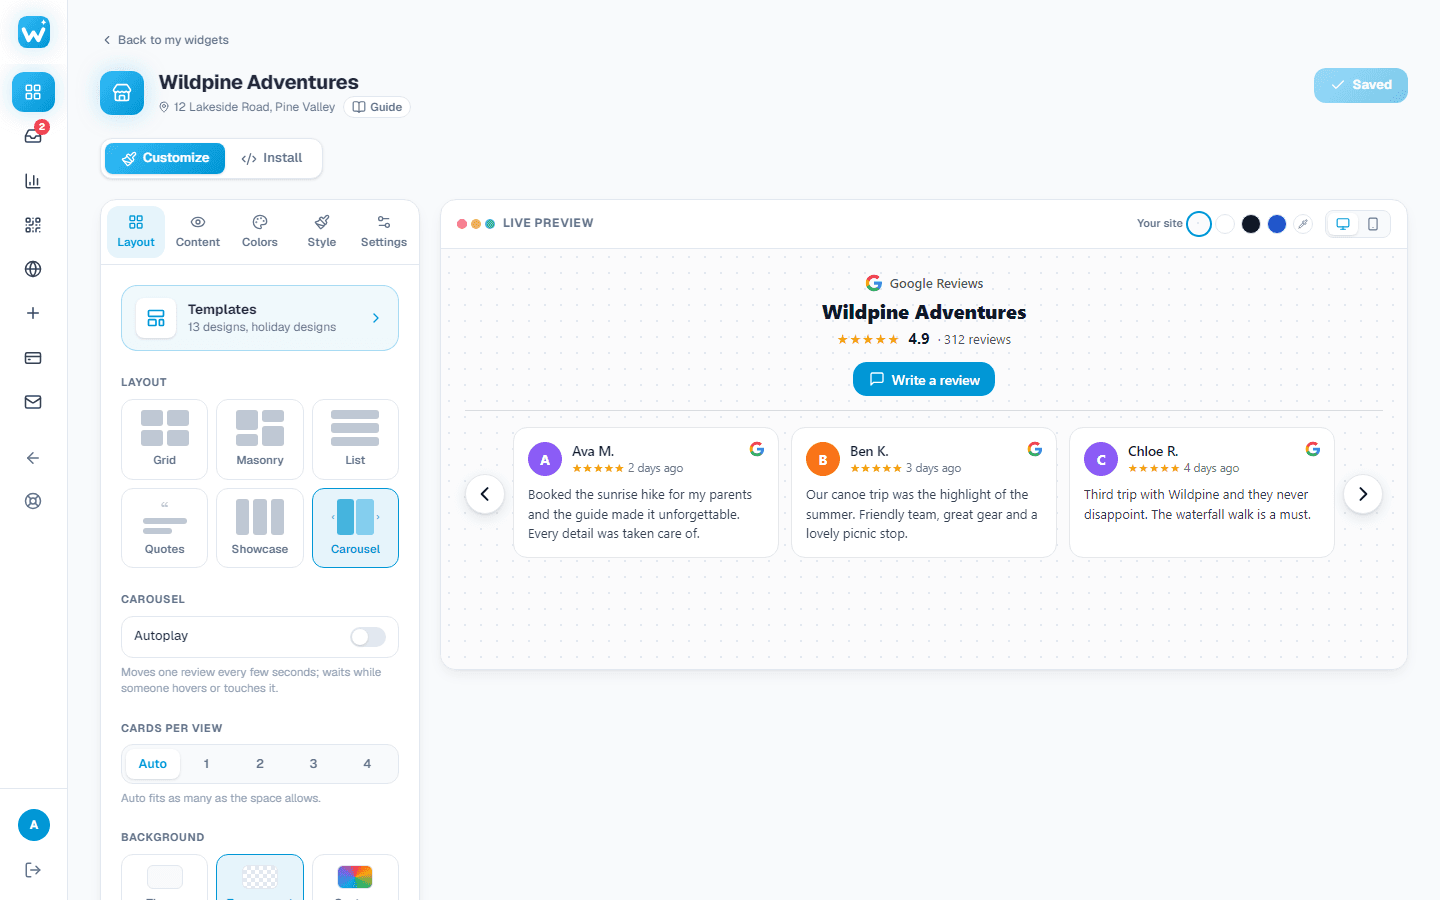
- 1The editor is on the left, and a live preview of your widget on the right.
- 2Change the layout, colours and words. Switch the preview between computer and phone to check both.
- 3Press Save changes when you are happy.
3. Put it on your website
Open the Install tab, add your website's address, copy the code and paste it into your page. The guide Add a widget to your website shows each step, and how to do it on WordPress, Shopify, Wix and others.
Every widget has a free plan. Every design is on every plan. Paid plans remove the Powered by WidgetPop link and add more features.
Related guides
Still need help?
Tell us what you're trying to do. A real person replies, usually within one working day.